引入mybatis
在pom中引入:
<dependency>
    <groupId>org.mybatis.spring.boot</groupId>
    <artifactId>mybatis-spring-boot-starter</artifactId>
    <version>1.3.1</version>
</dependency>
不同版本的Spring Boot和MyBatis版本对应不一样,具体可查看官方文档:http://www.mybatis.org/spring-boot-starter/mybatis-spring-boot-autoconfigure/。
其包含了spring-boot-starter-jdbc依赖,默认使用tomcat-jdbc数据源。
**注意:**有的小伙伴在引入mybatis时使用mytatis或mybatis-spring会引起报错,这里建议之间引入springboot帮我们封装好的mybatis-spring-boot-starter即可。
引入mysql与Druid数据源
Druid是一个关系型数据库连接池,是阿里巴巴的一个开源项目,地址:https://github.com/alibaba/druid。Druid不但提供连接池的功能,还提供监控功能,可以实时查看数据库连接池和SQL查询的工作情况。
Druid为Spring Boot项目提供了对应的starter:
<dependency>
   <groupId>com.alibaba</groupId>
   <artifactId>druid-spring-boot-starter</artifactId>
   <version>1.1.6</version>
</dependency>
Druid数据源配置
上面通过查看mybatis starter的隐性依赖发现,Spring Boot的数据源配置的默认类型是org.apache.tomcat.jdbc.pool.Datasource,为了使用Druid连接池,需要在application.yml下配置:
spring:
  datasource:
    driver-class-name: com.mysql.jdbc.Driver
    url: jdbc:mysql://localhost:3306/exocr?useUnicode=true&characterEncoding=UTF-8&rewriteBatchedStatements=true&autoReconnect=true&failOverReadOnly=false&zeroDateTimeBehavior=convertToNull
    username: root
    password: 111111
    # 数据源1 mysql
    type: com.alibaba.druid.pool.DruidDataSource

    # 连接池配置
    initial-size: 5
    min-idle: 5
    max-active: 20
    # 连接等待超时时间
    max-wait: 30000
    # 配置检测可以关闭的空闲连接间隔时间
    time-between-eviction-runs-millis: 60000
    # 配置连接在池中的最小生存时间
    min-evictable-idle-time-millis: 300000
    validation-query: select '1' from dual
    test-while-idle: true
    test-on-borrow: false
    test-on-return: false
    # 打开PSCache,并且指定每个连接上PSCache的大小
    pool-prepared-statements: true
    max-open-prepared-statements: 20
    max-pool-prepared-statement-per-connection-size: 20
    # 配置监控统计拦截的filters, 去掉后监控界面sql无法统计, 'wall'用于防火墙
    filters: stat,wall
==注意:==这里也会又个坑:
springBoot2.0是无法自动引入连接池配置的。用idea会显示如下图,可以看到部分内容有阴影,代表没有被自动引入。此时需要写一个Druid的配置类,使设置的数据源其他配置生效

@Configuration
public class DruidConfig {

    @ConfigurationProperties(prefix = "spring.datasource")
    @Bean
    public DataSource druid() {
        return new DruidDataSource();
    }

    /**
     *  配置后台监控: localhost:8080/druid
     */
    @Bean
    public ServletRegistrationBean<StatViewServlet> statViewServlet() {
        ServletRegistrationBean<StatViewServlet> bean = new ServletRegistrationBean<>(new StatViewServlet(), "/druid/*");
        HashMap<String, String> initParameters = new HashMap<>();
        initParameters.put("loginUsername", "druid");
        initParameters.put("loginPassword", "druid");
        initParameters.put("allow", "");

        // 账号,密码
        bean.setInitParameters(initParameters);
        return bean;
    }

    /**
     * 配置Druid的web监控的Filter
     */
    @Bean
    public FilterRegistrationBean<WebStatFilter> webStatFilter(){
        FilterRegistrationBean<WebStatFilter> bean = new FilterRegistrationBean<>();
        bean.setFilter(new WebStatFilter());
        Map<String,String > map = new HashMap<>();
        map.put("exclusions","*.js,*.css,/druid/*");
        bean.setInitParameters(map);
        //设置拦截请求,这里设置拦截所有请求
        bean.setUrlPatterns(Arrays.asList("/*"));
        return bean;
    }

}
配置完成,启动应用,访问http://localhost:8080/druid/ 进入Druid监控的登陆页面,用户名:druid,密码:druid
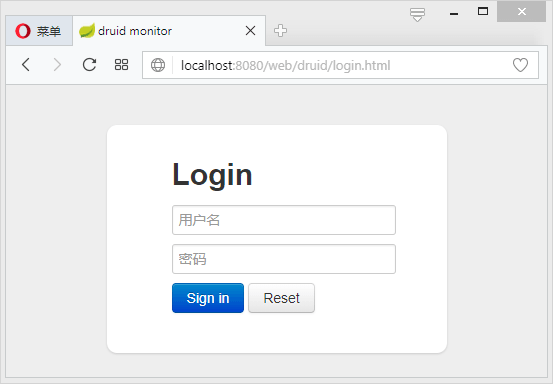
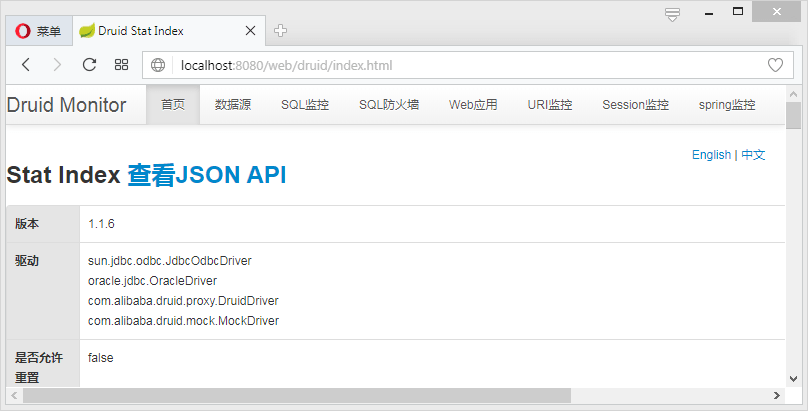
输入账号密码即可看到Druid监控后台:
使用MyBatis
使用的库表:
CREATE TABLE "SCOTT"."STUDENT" (
    "SNO" VARCHAR2(3 BYTE) NOT NULL ,
    "SNAME" VARCHAR2(9 BYTE) NOT NULL ,
    "SSEX" CHAR(2 BYTE) NOT NULL
);

INSERT INTO "SCOTT"."STUDENT" VALUES ('001', 'KangKang', 'M ');
INSERT INTO "SCOTT"."STUDENT" VALUES ('002', 'Mike', 'M ');
INSERT INTO "SCOTT"."STUDENT" VALUES ('003', 'Jane', 'F ');
创建对应实体:
public class Student implements Serializable{
    private static final long serialVersionUID = -339516038496531943L;
    private String sno;
    private String name;
    private String sex;
    // get,set略
}
创建一个包含基本CRUD的StudentMapper:
public interface StudentMapper {
    int add(Student student);
    int update(Student student);
    int deleteByIds(String sno);
    Student queryStudentById(Long id);
}
StudentMapper的实现可以基于xml也可以基于注解。
使用注解方式
编辑StudentMapper:
@Component
@Mapper
public interface StudentMapper {
    @Insert("insert into student(sno,sname,ssex) values(#{sno},#{name},#{sex})")
    int add(Student student);

    @Update("update student set sname=#{name},ssex=#{sex} where sno=#{sno}")
    int update(Student student);

    @Delete("delete from student where sno=#{sno}")
    int deleteBysno(String sno);

    @Select("select * from student where sno=#{sno}")
    @Results(id = "student",value= {
        @Result(property = "sno", column = "sno", javaType = String.class),
        @Result(property = "name", column = "sname", javaType = String.class),
        @Result(property = "sex", column = "ssex", javaType = String.class)
    })
    Student queryStudentBySno(String sno);
简单的语句只需要使用@Insert、@Update、@Delete、@Select这4个注解即可,动态SQL语句需要使用@InsertProvider、@UpdateProvider、@DeleteProvider、@SelectProvider等注解。具体可参考MyBatis官方文档:http://www.mybatis.org/mybatis-3/zh/java-api.html。
声明mapper的包扫描:
在启动类中加入@MapperScan注解,声明Mapper的路径
@SpringBootApplication
@MapperScan("com.example.mapper")
public class MybatisApplication {

    public static void main(String[] args) {
        SpringApplication.run(MybatisApplication.class, args);
    }

}
测试
接下来编写Service:
public interface StudentService {
    int add(Student student);
    int update(Student student);
    int deleteBysno(String sno);
    Student queryStudentBySno(String sno);
}
实现类:
@Service("studentService")
public class StudentServiceImp implements StudentService{
    @Autowired
    private StudentMapper studentMapper;

    @Override
    public int add(Student student) {
        return this.studentMapper.add(student);
    }

    @Override
    public int update(Student student) {
        return this.studentMapper.update(student);
    }

    @Override
    public int deleteBysno(String sno) {
        return this.studentMapper.deleteBysno(sno);
    }

    @Override
    public Student queryStudentBySno(String sno) {
        return this.studentMapper.queryStudentBySno(sno);
    }
}
编写controller:
@RestController
public class TestController {

    @Autowired
    private StudentService studentService;

    @RequestMapping( value = "/querystudent", method = RequestMethod.GET)
    public Student queryStudentBySno(String sno) {
        return this.studentService.queryStudentBySno(sno);
    }
}
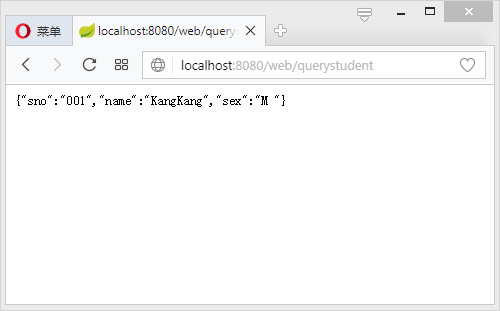
启动项目访问:http://localhost:8080/querystudent?sno=001:
查看SQL监控情况:
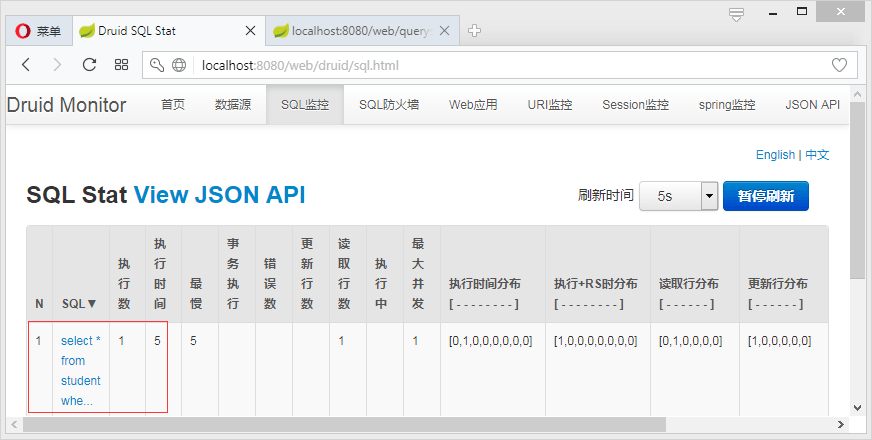
可看到其记录的就是刚刚访问/querystudent得到的SQL。